
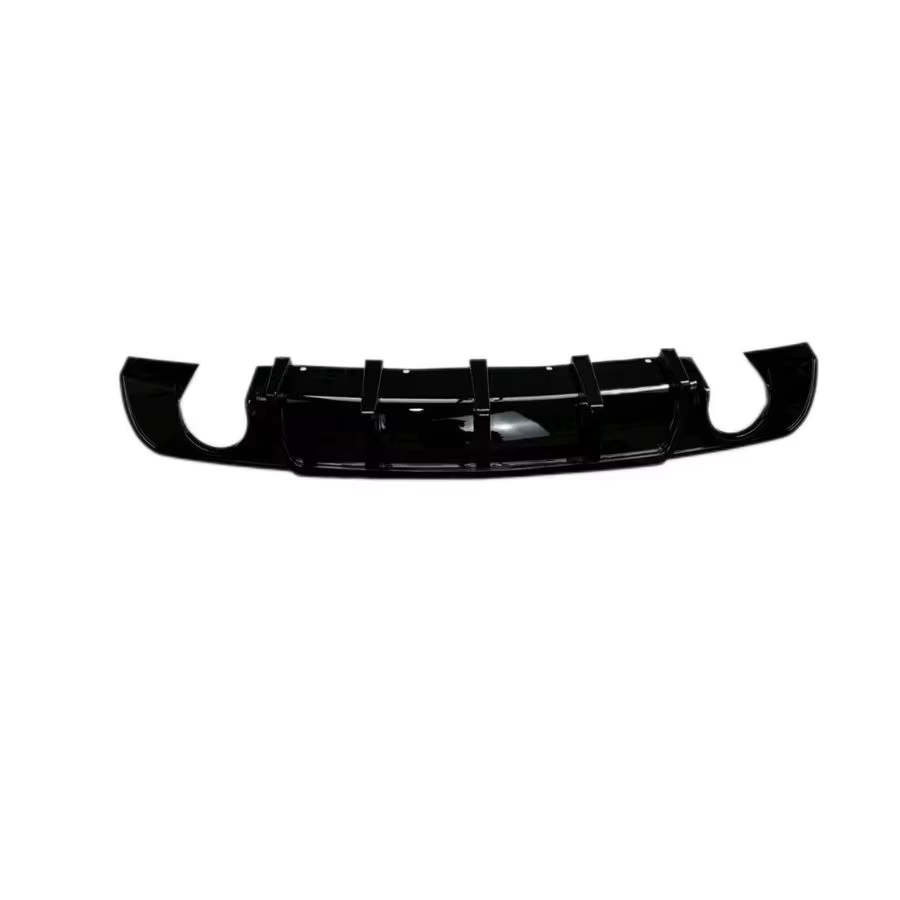
Step-by-Step Cleaning Process for Auto Rear Diffusers
Proper cleaning is essential for maintaining your auto rear diffuser’s appearance and functionality. Follow this systematic approach to prevent damage while removing contaminants effectively.
Pre-Rinse and Gentle Debris Removal
Start off by giving the diffuser a good rinse with something like a garden hose set to low pressure. This helps knock off all that dirt and grime that sticks after driving around town. Now don't go crazy with those high pressure washers though. They tend to push water right into places where it shouldn't be, messing up the seals and potentially damaging the mounts. For getting into those tricky spots between the fins and vents, grab some compressed air or just a gentle detailing brush works wonders too. Doing this first step makes sure we're not scratching up the surface later on when actually cleaning because sometimes tiny bits of grit can act like sandpaper if left behind.
pH-Neutral Wash with Microfiber and Soft Brush Techniques
For best results, mix some car shampoo that's pH balanced into water and apply it with a nice soft microfiber mitt. When dealing with tough spots, particularly those pesky brake dust areas in tight corners, grab a detailing brush with gentle bristles. Work the brush in straight strokes following the shape of the car's body. If parts still look dirty after the first pass, just go over them again with more solution. What makes this approach work so well is how it protects the original wax job on vehicles while getting rid of dirt that's stuck deep inside surfaces, all without harsh chemicals or abrasive scrubbing that might damage paintwork.
Rinse, Dry, and Streak-Free Finishing Best Practices
Thoroughly rinse all soap residues with deionized or distilled water to prevent mineral deposits and water spotting. Immediately pat surfaces dry using clean waffle-weave microfiber towels—never rub—to avoid marring delicate finishes. Finish with a quick-detail spray applied to a separate microfiber for optical clarity and enhanced hydrophobicity.
Material-Specific Maintenance for Carbon Fibre, ABS Plastic, and Fibreglass
Proper care for rear diffusers requires tailored approaches based on material composition. Each substrate responds uniquely to cleaning agents and environmental factors, demanding distinct protocols to prevent degradation.
Carbon Fibre: Preserving Resin Integrity and UV Resistance
Carbon fibre demands UV-protective measures since resin degradation accelerates under direct sunlight, weakening the structural matrix. Prioritise:
- pH-neutral cleaners exclusively (alkaline formulas risk epoxy breakdown)
- Microfibre application in straight-line motions to avoid swirls
- Quarterly ceramic coating renewals for consistent UV shielding
- Immediate drying to prevent water spots that compromise the epoxy matrix
Heat exposure beyond 120°F (49°C) risks delamination—always wash in shade or ambient temperatures.
ABS Plastic and Fibreglass: Preventing Solvent Damage and Hazing
Petroleum-based solvents fracture polymer chains in ABS plastic, causing hazing or stress cracks; acetone similarly degrades fibreglass resins. Implement:
- Isopropyl alcohol-free cleaners (silicone-based options are safest)
- Pressure wash limits of 120+ PSI to prevent fibre separation or surface pitting
- Trim protectants with UV inhibitors to delay brittleness
- Glass fibre wax applications to seal microscopic pores and restore depth
Annual inspections should verify substrate flexibility—plasticizer evaporation over time increases cold-weather fracture risk.
Long-Term Protective Treatments for Rear Diffusers
Ceramic Coating vs. PPF: Aerodynamic Surface Protection Trade-Offs
When deciding whether to go with ceramic coating or PPF for those rear diffusers on cars, folks need to know how each actually affects protection and appearance over time. Ceramic coatings stick to paint at a molecular level, forming this slick surface that makes water bead off like marbles rolling away after a rainstorm. The result? Cleaner car with fewer dirt spots and that showroom shine lasting longer than usual. On the flip side, PPF works differently by acting as armor plating for the vehicle's finish. Made from special plastic material that can heal minor damage itself, it takes care of those pesky rocks kicked up by trucks on highways and keeps scratches from becoming permanent scars on expensive paint jobs.
Performance trade-offs center on aerodynamics and durability:
| Factor | Ceramic Coating | PPF |
|---|---|---|
| Thickness | 2–6μm (no measurable airflow disruption) | 8+ mil (minimal but measurable drag increase) |
| Impact Resistance | Limited | High |
| Longevity | 2–5 years | 5–10 years |
| Maintenance | Low (topping optional) | Moderate (avoid solvents, heat, or aggressive abrasives) |
Ceramic coatings keep the way air flows around vehicles pretty much the same as stock, though they don't protect against physical damage very well. Paint protection film takes a small hit on how smoothly air moves over the car, but gives much better shielding from rocks, bugs, and other road junk. Tests conducted across the industry indicate that PPF can soak up about 8 out of 10 impacts at speeds below 50 miles per hour. Ceramic coatings work differently, mainly fighting off chemicals that eat into paint and stopping colors from fading under sunlight. When cars are driven in tough conditions such as racing tracks or rough gravel roads, the extra layer provided by PPF makes all the difference even if it does slightly affect how fast the vehicle cuts through the air. Checking these protective layers every few weeks helps maintain their effectiveness no matter which option車主 chooses for their ride.
Inspection and Damage Prevention for Structural Integrity
Checking the rear diffuser regularly helps keep it intact and stops expensive repairs down the road. A good look over should happen after each car wash at least once every three months. Focus on spots like where things mount, around the edges, and areas that take most hits during normal driving. Look out for tiny cracks, any signs of stress in the material, or if parts seem bent out of shape. Finding small issues early means getting them fixed before they spread across the whole component. This matters a lot with carbon fiber parts since when the resin starts breaking down, the whole thing loses strength and can't handle what it's supposed to anymore.
Focus on these key areas during inspections:
- Attachment hardware: Check for loose bolts, corrosion, or stress marks near mounting brackets
- Underside surfaces: Scan for stone chips, deep abrasions, or impact dents from road debris
- Material transitions: Inspect junctions between diffuser fins and main body for separation signs
Preventive maintenance isn't just about regular checks either. Drivers should watch out for those really steep driveways where vehicles often hit the ground hard, which can really mess things up. Applying some kind of protective coating to areas that get worn down first gives extra protection against wear and tear. If there are any dents or scratches bigger than what most people would consider normal, it's probably time to bring in someone who knows what they're doing before small problems turn into big headaches later on. Combining all these tips with getting inspected every three months by professionals cuts down on chances of serious structural issues developing over time.
FAQ Section
What is the best way to clean an auto rear diffuser?
Start by pre-rinsing with low-pressure water, followed by a wash using a pH-neutral car shampoo and microfiber mitt. Rinse thoroughly, then dry using clean microfiber towels.
Why is material-specific care important for rear diffusers?
Each material responds differently to environmental factors and cleaning agents, requiring distinct protocols to prevent degradation.
What are the benefits of ceramic coating for rear diffusers?
Ceramic coatings provide a slick surface, promote water beading, and prolong the car's showroom shine while maintaining aerodynamic flow.
How often should rear diffusers be inspected?
Rear diffusers should be inspected after each car wash and at least once every three months to prevent structural issues.